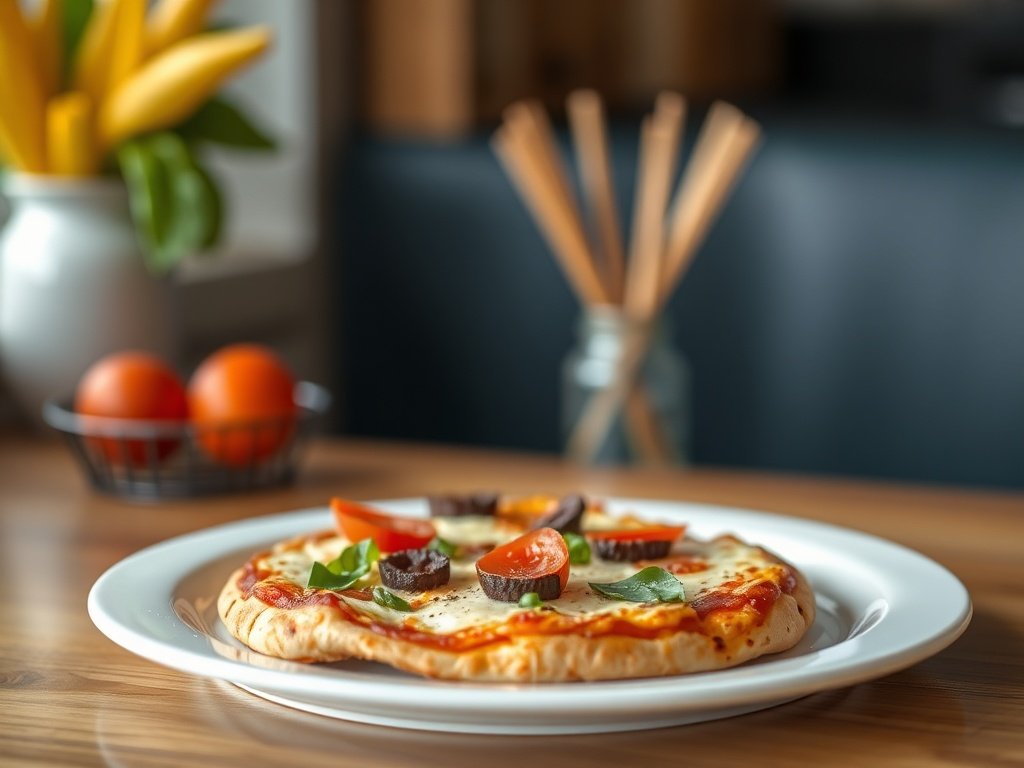
The School Pizza Recipe: Relive Lunchtime with a Homemade Classic
Introduction
Who doesn’t remember the sheer anticipation that bubbled up on “pizza day” in the school cafeteria? That distinct, irresistible smell wafting through the hallways, the excited chatter as you shuffled down the lunch line, the slightly greasy paper plate cradling a perfectly square, golden-edged slice of pure, unadulterated joy. It wasn’t just lunch; it was an event, a highlight of the week that solidified pizza’s place in our collective childhood memories. That specific taste and texture, often different from your typical pizzeria fare, holds a powerful nostalgic grip on so many of us.
This recipe isn’t just about making pizza; it’s about recapturing that specific, comforting taste and texture, but with the added bonus of fresh, high-quality ingredients that you control. We’re going beyond mere imitation to elevate a classic, ensuring every bite transports you back to those simpler times. Forget the mystery meat and watery vegetables; today, we’re focusing on the star of the show.
What can you expect from our homemade school pizza? Prepare for a thick, delightfully chewy crust that’s crispy on the bottom and soft within, a subtly sweet and tangy tomato sauce that hits just the right notes, and that iconic mozzarella-cheddar cheese blend that melts into a gooey, savory blanket. Get ready to embark on a delicious trip down memory lane, made even better in your own kitchen.
Nutritional Information
Per serving (approximate values for 1/16th of a 13×18 inch pan):
- Calories: 380
- Protein: 15g
- Carbohydrates: 40g
- Fat: 20g
- Fiber: 3g
- Sodium: 750mg
Ingredients
For the Dough:
- 1 ½ cups (360ml) warm water (105-115°F / 40-46°C)
- 2 ¼ teaspoons (1 packet) active dry yeast
- 1 tablespoon granulated sugar
- 1 teaspoon salt
- 3 ½ cups (420g) all-purpose flour, plus more for dusting
- 2 tablespoons olive oil, plus more for greasing the pan
For the Sauce:
- 1 (15-ounce) can crushed tomatoes (or tomato puree)
- 1 tablespoon granulated sugar (or to taste)
- ½ teaspoon salt
- ½ teaspoon garlic powder
- ¼ teaspoon onion powder
- Pinch of black pepper
For the Topping:
- 8 ounces (about 2 cups) low-moisture part-skim mozzarella cheese, shredded
- 8 ounces (about 2 cups) sharp or mild cheddar cheese, shredded
- Optional toppings: 4-6 ounces pepperoni slices, or 1 cup cooked and crumbled sausage
Instructions
- Activate the Yeast: In a large mixing bowl, combine the warm water, yeast, and sugar. Stir gently and let it sit for 5-10 minutes until foamy. This indicates the yeast is active.
- Prepare the Dough: Add the salt and 2 tablespoons of olive oil to the yeast mixture. Gradually add the flour, one cup at a time, mixing with a wooden spoon or a stand mixer with a dough hook until a shaggy dough forms.
- Knead the Dough: Turn the dough out onto a lightly floured surface and knead for 5-7 minutes until it becomes smooth and elastic. Alternatively, use a stand mixer with a dough hook on medium speed for 5 minutes. The dough should be slightly tacky but not sticky.
- First Rise: Lightly grease a clean bowl with olive oil. Place the dough in the bowl, turning it once to coat. Cover the bowl with plastic wrap or a clean kitchen towel and let it rise in a warm place for 1 to 1 ½ hours, or until doubled in size.
- Prepare the Sauce: While the dough is rising, combine the crushed tomatoes, sugar, salt, garlic powder, onion powder, and black pepper in a small bowl. Stir well and set aside. Taste and adjust sweetness or saltiness as desired. Remember, school pizza sauce is often slightly sweeter and less herbaceous than traditional Italian sauces.
- Preheat Oven and Pan: Preheat your oven to 425°F (220°C). Generously grease a 13×18-inch sheet pan (or a 9×13-inch pan for a thicker crust) with olive oil. Ensure the bottom and sides are well-coated to achieve that signature crispy crust.
- Press the Dough: Once the dough has doubled, gently punch it down to release the air. Transfer the dough to the prepared sheet pan. Using your fingertips, gently press and stretch the dough to cover the entire bottom of the pan, pushing it right to the edges. If the dough springs back, let it rest for 5-10 minutes, then continue pressing. This ensures a consistent thickness and edge.
- Second Rise (Optional but Recommended): Once the dough is spread, cover the pan with plastic wrap or a clean towel and let it rest for another 15-20 minutes. This allows the dough to relax and puff up slightly, contributing to a lighter, chewier crust.
- Assemble the Pizza: Evenly spread the prepared tomato sauce over the dough, leaving a small border around the edges if you prefer a crusty rim.
- Add Cheese and Toppings: In a separate bowl, toss the shredded mozzarella and cheddar cheese together to ensure an even blend. Sprinkle the cheese generously over the sauce, making sure it’s evenly distributed. If using, arrange pepperoni slices or crumbled cooked sausage over the cheese.
- Bake the Pizza: Place the sheet pan in the preheated oven. Bake for 18-25 minutes, or until the crust is golden brown, the cheese is bubbly and melted, and the edges are slightly caramelized. The exact baking time will depend on your oven and the thickness of your crust.
- Cool and Cut: Once baked, carefully remove the pizza from the oven. Let it cool in the pan for 5-10 minutes before slicing. This allows the cheese to set slightly and makes for cleaner cuts. For true cafeteria authenticity, slice into squares or rectangles using a sturdy pizza cutter or chef’s knife.
- Serve: Serve warm and relish the nostalgic flavors of your homemade school pizza!
Cooking Tips and Variations
Achieving that perfect school pizza vibe means paying attention to a few key details. The crust, as we know, is king (or queen) here. To get that distinctively crispy bottom and chewy interior, generous oiling of your sheet pan is crucial. Don’t be shy with the olive oil; it helps fry the bottom of the dough, giving it that golden, slightly oily crispness that’s so characteristic. Baking at a relatively high temperature ensures a quick bake and a good crust development. Some home cooks even like to pre-bake the crust for 5-7 minutes before adding toppings for an extra sturdy and crispy base, especially if you prefer a very thick crust.
The sauce is another secret weapon. Our recipe calls for a slightly sweeter, less complex sauce, which is true to the cafeteria style. If you find your canned tomatoes are particularly acidic, you might want to add another half-teaspoon of sugar. Conversely, if you prefer a bit more tang, a tiny splash of red wine vinegar (about a quarter teaspoon) can brighten it up without making it taste too “gourmet.” The minimal use of herbs like basil or oregano is intentional; the school pizza sauce was often about pure, unadulterated tomato flavor with a hint of sweetness, designed to appeal to younger palates.
Now, let’s talk about the cheese blend wisdom. The combination of low-moisture part-skim mozzarella and cheddar is not arbitrary. Mozzarella provides the classic melt, stretch, and mild creaminess, while the cheddar contributes a sharper, more distinct flavor and that iconic slightly orange hue. This blend differentiates it significantly from a purely mozzarella-topped pizza, giving it that unique school pizza character. The cheddar also helps create a more robust, slightly firmer cheese layer once cooled, which was typical of cafeteria slices. For best results, shred your own cheese; pre-shredded cheeses often contain anti-caking agents that can affect melt and texture.
Finally, for absolute authenticity, the “square” cut is non-negotiable. School pizzas were almost universally baked in large, rectangular sheet pans and then cut into squares or rectangles. This wasn’t just for aesthetics; it was for efficient serving and portion control in a bustling cafeteria setting. So, resist the urge to slice triangles and embrace the nostalgic geometry!
Beyond the classic, don’t hesitate to explore topping twists. While plain, pepperoni, or crumbled cooked sausage are the quintessential school pizza toppings, you can certainly elevate it slightly at home. Thinly sliced bell peppers, sautéed onions, or even a sprinkle of dried Italian seasoning (if you dare to venture slightly beyond strict authenticity) can add new dimensions. For a truly retro twist, some cafeterias even served a “supreme” version with black olives and mushrooms. The beauty of homemade is that you are the boss!
Storage and Reheating
One of the best things about school pizza, even homemade, is how well it keeps and reheats. Leftover pizza can be a delicious treat, sometimes even better the next day as the flavors meld. To store, allow the pizza to cool completely. Then, transfer individual slices or larger portions to an airtight container or wrap them tightly in plastic wrap or aluminum foil. Store in the refrigerator for up to 3-4 days.
For reheating, several methods can bring your school pizza back to its glory:
- Oven or Toaster Oven: This is generally the best method for retaining a crispy crust. Preheat your oven or toaster oven to 350°F (175°C). Place slices directly on the rack or on a baking sheet. Reheat for 8-12 minutes, or until the cheese is bubbly and the crust is crisp.
- Skillet: For a surprisingly crispy bottom, place a slice in a non-stick skillet over medium-low heat. Cover the skillet with a lid (or aluminum foil) for a few minutes to allow the cheese to melt and the top to heat through, then remove the lid and continue cooking until the bottom is crispy, about 5-7 minutes total.
- Microwave: While convenient, the microwave tends to make the crust soft and sometimes chewy. If using, place a slice on a microwave-safe plate and heat for 30-60 seconds, or until warmed through. For a slightly less soggy crust, place a small cup of water in the microwave alongside the pizza.
Frequently Asked Questions
Can I make the dough ahead of time?
Absolutely! Preparing the dough in advance is a great time-saver. After the first rise, you can punch down the dough, place it in an oiled, airtight container, and refrigerate it for up to 2-3 days. When you’re ready to bake, remove the dough from the fridge about an hour before you plan to use it, allowing it to come closer to room temperature before pressing it into the pan and proceeding with the recipe.
What kind of pan should I use for this recipe?
A standard 13×18-inch rimmed sheet pan (also known as a half-sheet pan) is ideal for achieving the classic thin-to-medium thickness of school pizza. If you prefer a thicker, more substantial crust, you can use a smaller 9×13-inch baking pan, which will result in a deeper dish style pizza with a more pronounced chewy interior.
Why is there minimal basil or oregano in the sauce?
The school pizza sauce was intentionally kept simple and often slightly sweeter, with minimal strong herbs like basil or oregano. This was to appeal to a broad range of palates, especially younger children, and to create a distinct flavor profile that differentiated it from more traditional Italian-American pizzas. The focus was on the pure, comforting taste of tomato and cheese.
How do I ensure the bottom crust gets crispy?
Several factors contribute to a crispy bottom crust. First, generously grease your sheet pan with olive oil; this helps “fry” the dough as it bakes. Second, ensure your oven is fully preheated to the recommended temperature. A hot oven creates a quick burst of heat that crisps the dough. Finally, avoid overloading your pizza with too much sauce or cheese, as excess moisture can lead to a soggy crust. Using a dark metal pan can also help with browning the bottom.
Conclusion
There you have it – a delicious, authentic, and undeniably nostalgic journey back to the hallowed halls of your school cafeteria, all from the comfort of your own home. “The School Pizza Recipe” isn’t just a meal; it’s a memory, a taste of childhood that brings smiles and stories to the table. We’ve meticulously crafted this recipe to bring you that thick, chewy crust, that subtly sweet sauce, and that perfect mozzarella-cheddar blend that defined pizza day for so many.
We truly encourage you to try this recipe and rediscover the simple pleasures of that iconic square slice. Don’t be shy about experimenting with your favorite classic toppings, or even introducing a few new ones to create new memories. And please, share your results with us! We’d love to hear about your favorite school lunch memories, your personal pizza day traditions, or any tweaks you made to make this recipe uniquely yours.
So, fire up your ovens, gather your ingredients, and prepare for a delicious trip down memory lane. This homemade school pizza is a testament to the power of food to connect us to our past, made even better at home.
